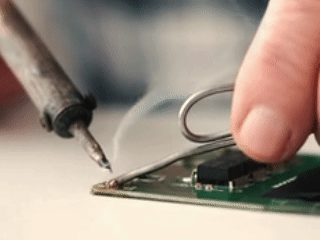
You’ve placed the component. You’ve set the temperature. You touch the iron to the pad, feed the solder.
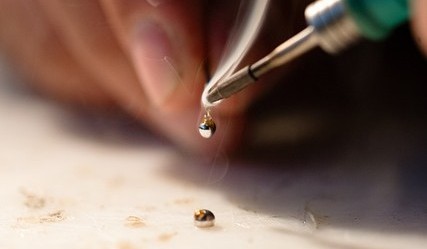
But then it just sits there. Instead of flowing smoothly onto the copper, it beads up, sticks to the iron, or forms a dull blob.
The real reason solder doesn’t stick is wetting failure. Solder sticking to a pad is called wetting. For proper wetting to happen:
- The pad must be clean (no oxidation)
- The temperature must be high enough for heat transfer
- Flux must remove surface contamination
- The solder alloy must reach full melting temperature
- Heat must transfer into the copper — not just melt the solder
If any one of these fails, solder will bead up due to surface tension. So, let’s break it down properly.
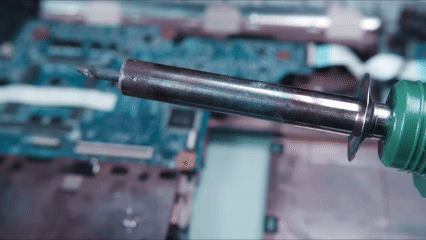
1. The Tip Is Oxidized
What’s happening? Solder sticks to clean, active metal. An oxidized tip is not clean metal.
Most soldering tips are iron-plated copper. When exposed to air at high temperature, the surface forms iron oxide. That oxide layer then prevents solder from wetting the tip. And if the tip can’t transfer solder properly, it can’t transfer heat properly either.
What it looks like
- Dark, dull, pitted surface
- Solder refuses to coat the tip
- Heat transfer feels weak even at high temperatures
The Fix:
Step 1: Clean immediately with a brass sponge (preferred). I use the Hakko 599B-02 Tip Cleaner. Copper wool works better than the yellow cellulose sponges, as it doesn’t thermally shock the tip.
Step 2: If that doesn’t work, you need a tip tinner. The Thermaltronics Tip Thinner (part no: TMT-TC-2) or the blue MG Chemicals Tip Thinner is the standard. Dip the hot tip in it—it fizzes, turns silver, and suddenly solder sticks again.
Pro Tip: If you’re using a super cheap iron with a non-replaceable tip (like those $8 generic sticks), this is your only hope. But honestly? If the tip is blue or black, it’s dead. Consider upgrading to a Hakko FX-888D or the budget (portable) favourite Pinecil V2—both have readily available replacement tips.
ⓘ Important
Never sand a tip! You will remove the iron plating and permanently damage it.
2. The PCB Pad Is Oxidized
Copper oxidizes quickly when exposed to air. If the board is old, poorly stored, or previously overheated, the surface may already be covered in oxide.
What You’ll Notice
- Solder beads and pulls away from the pad
- Pad looks slightly dark or uneven
- Heating longer doesn’t improve wetting
The Fix
- Apply a generous amount of flux first. Sometimes that’s enough to break through light oxidation when heated.
- Reheat the pad and try again. If the solder flows this time? Great. You’re done.
- If oxidation is heavy, lightly scrub with a fibreglass scratch pen, just enough to expose shiny metal underneath. The Pro’sKit 6 Piece Fibreglass Scratch Pen (about $10 on Amazon) lets you gently abrade the pad surface without removing the copper.
- Clean with 90%+ isopropyl alcohol before retrying.
Note: If you’re storing bare PCBs for future projects, keep them in anti-static bags with a silica gel pack. Humidity accelerates oxidation. I learned this the hard way after leaving a batch of prototype boards in a cardboard box for days. Every single pad needed scrubbing.
3. The Pad is Overheated or Damaged
If a pad has been overheated repeatedly, the copper may partially delaminate, the surface plating may be compromised, and adhesion to the substrate weakens. At this point, solder may stick poorly — or the pad may lift entirely.
Watch forpads that move when heated, look bubbled or uneven and boards that smell burnt. And if the pad is damaged, the only option is to repair it.
4. Wrong Temperature (Too Cold or Too Hot)
Temperature isn’t all about melting solder. It’s also about activating flux and transferring heat efficiently.
If you’re running around 280–300°C, solder melts slowly, it looks thick and pasty, and joints appear dull or uneven. You end up heating the component longer, which increases thermal stress.
On the other hand, if you’re pushing 400°C+ unnecessarily, flux burns off instantly, and solder turns dull quickly. The pads will also oxidize faster, and the tip can degrade easily. Note that flux is the cleaning agent. If it burns before it can work, the solder won’t bond properly.
Recommended Settings
- For 63/37 or 60/40 leaded solder: 330°C – 350°C
- For lead-free solder: 350°C – 370°C
⚠ Caution
If the solder smokes aggressively and turns dull gray immediately, you’re too hot. Turn it down 20 degrees and wait 30 seconds.
5. You Don’t Have Enough Active Flux
Flux removes oxides from both the pad and the lead. Without it, solder cannot wet the surface. Even flux-core solder contains limited flux. If you:
- Feed solder directly into the iron tip
- Hold the iron too long before applying solder
- Use excessive temperature
The flux burns away before it cleans the joint.
The Correct Approach
- Apply fresh flux first. I keep a Chip Quik SMD291 10cc Syringe of No-Clean Flux on my bench. It’s tacky, so it holds components in place, and it doesn’t need to be washed off (though I still use IPA because I’m neat).
- Alternatively, use a Kester Flux Pen for small jobs. It looks like a highlighter and applies a thin, even layer.
6. The Tip Isn’t Properly Tinned
Tinning is not optional maintenance. It is protection. When you leave a hot tip dry, oxygen attacks the surface immediately. And a dry tip oxidizes in seconds.
Proper Habit
- Clean the tip
- Immediately coat it with fresh solder
- Then place it back in the holder
A properly tinned tip should look shiny and wet, not matte or metallic. Before turning off your station, always leave a generous solder coat on the tip. That “sacrificial” solder layer protects the plating while cooling.
7. The Joint Is Contaminated
Sometimes the iron and flux are fine. The board isn’t. Contamination sources include:
- Finger oils
- Adhesive residue
- Old flux buildup
- Conformal coating
- Heavy oxidation on aged pads
Solder will not bond to grease or corrosion. Just clean the area with 90%+ isopropyl alcohol or brush it with an anti-static cleaning brush. A simple electronics cleaning kit with ESD brushes and IPA is often more important than upgrading your iron.
8. Poor-Quality Solder
Not all solder is equal. Low-quality solder often contains inconsistent alloy ratios, a poor flux core, and impurities. This results in grainy joints, poor wetting, and excess residue. Quality solder adheres to specific standards (like 63/37 tin/lead or 60/40).
If you’re using ancient solder from 1985 that you found in your dad’s garage, the flux is likely dead. Treat yourself to Kester 24-6337-0027 Solder (0.031″ diameter). It’s the gold standard. Melts beautifully. Reliable brands like Kester 44, MG Chemicals, Weller or Alpha Fry produce fine results.
If you’ve checked everything else and you’re still struggling, try switching the solder before replacing your iron.
9. When It’s Not the Pad: Technique Errors
Sometimes the pad is clean. The tip is fine. The temperature is correct. But the joint still fails. At that point, the issue is usually the heat application technique.
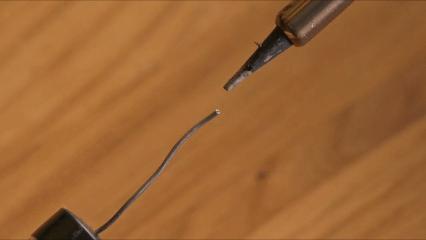
The Correct Sequence
- Touch the iron tip so it contacts both the PCB pad and the component lead.
- Wait 1–2 seconds to allow both surfaces to reach soldering temperature.
- Feed solder into the joint — not onto the iron tip.
- Remove the solder wire first.
- Then remove the iron last.
That order matters.
Why this work? If you melt solder directly on the iron and then “paint” it onto the joint, you are transferring molten metal — not heat. The solder cools instantly and forms a weak bond.
If you heat only the lead, the pad never reaches the proper temperature, and the solder will bead or partially wet. If you heat only the pad, the lead may not bond fully, resulting in a cold joint that can crack later.
The goal is simultaneous thermal equilibrium between the pad and lead.
Only when both are hot enough will solder flow smoothly and form a proper intermetallic bond.
A correct joint:
- Forms a smooth, concave fillet
- Looks shiny (for leaded solder)
- Does not form a ball
- Does not move while cooling
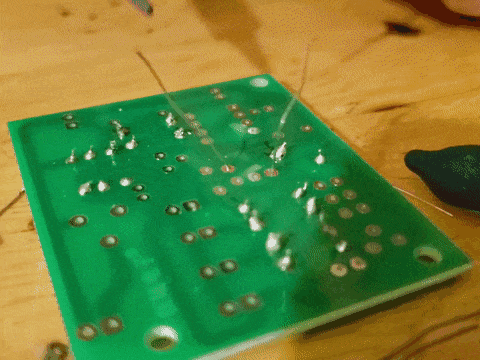
If you’re getting blobs, spikes, or uneven surfaces, the issue is almost always uneven heating.
Creator and Editor at AnitoCircuits.com based in Toronto